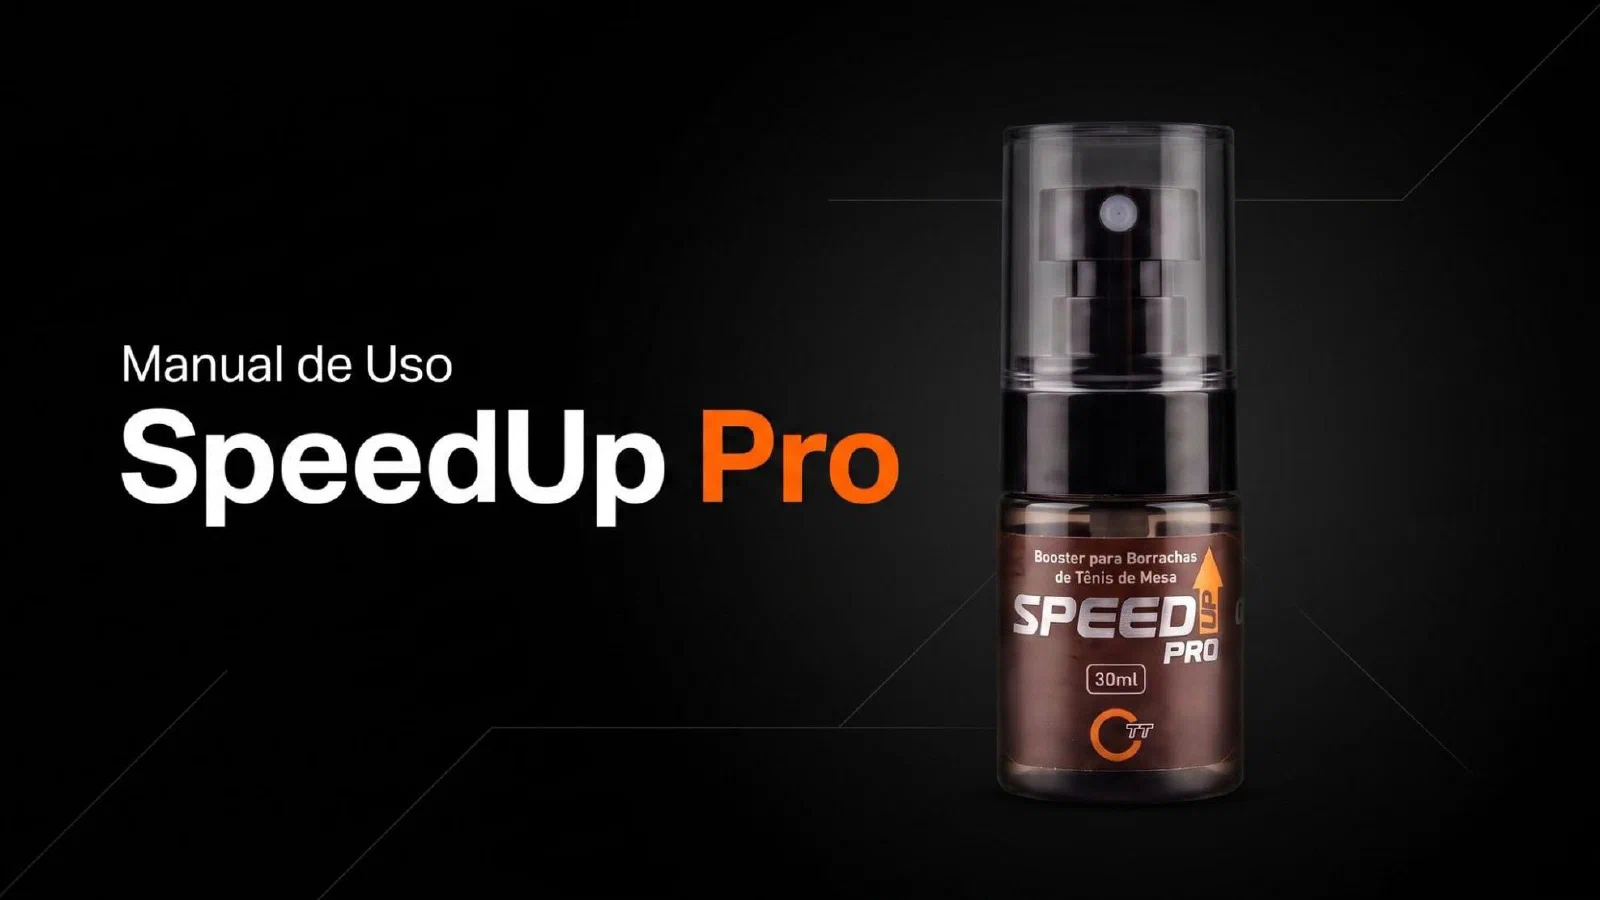
SpeedUp Pro booster user manual
In this post3 sections
SpeedUp Pro is here for those who are not satisfied with the standard. If you scanned the QR code on the bottle, welcome to the more elastic side of power. If you got here through the 360TT blog, sit down, because class is in session.
This is not just another generic booster: it is a formulation designed to penetrate deep into the sponge and give back what a lot of rubbers lose over time: dwell time, deep arc and that catapult effect that makes the ball leave the racket “glued” to it until the very last millimeter. But, like any high-performance tool, the Pro demands method. Follow this guide and transform your rubber without losing control along the way.
SpeedUp Pro is the opposite proposal to SpeedUp X: instead of preserving firmness, it softens and “releases” the sponge to generate more spin and more arc on the topspin.
Phase 1: surgical preparation (cleaning)
Before thinking about elasticity, we need cleanliness. The Pro’s oil has to penetrate the sponge, and layers of old glue are barriers that prevent even absorption.
- New rubbers: they usually come ready. You can skip to Phase 2.
- Used rubbers: you must remove 100% of the old glue from the sponge.
Expert tip
Is the glue hard to remove? You can use a little SpeedUp Pro itself to soften the old layer. Another professional solution is to apply our EasyGlue glue (white version) over the old glue; its formula helps create a single film that makes removal easier without damaging the sponge.
Phase 2: applying it to the sponge
With the sponge clean and free of glue, let’s start the treatment. Thanks to the oil’s low viscosity and to the spray, which spreads the product in an ultra-thin, even film (no thick drops, no waste), the 30ml bottle of SpeedUp Pro goes a long way, even with generous doses.
Step by step
- Application:
- On rubbers that are already cut: 12 to 15 sprays.
- On new rubbers, still square (not cut): 15 to 20 sprays, since there is more sponge area to cover.
- Massage: cut a small piece of the applicator sponge provided. Spread and rub the product well, pressing on the rubber’s sponge to help absorption. The Pro’s ultra-thin formulation penetrates quickly, so work with light, constant movements.
- Working time: let it work for 2h to 4h between coats. Note: the criterion here is different from what you may be used to. The sponge must be dry to the touch, not necessarily dry to the eye. Don’t judge by sight, judge by your finger.
How many coats should you apply? Since it is a very thin oil, with less mass per spray, we recommend 3 coats for the ideal result in elasticity and catapult. Went beyond that, my friend? You have left the tested and approved comfort zone and entered a lawless land, where the only guarantee is your own courage (and the integrity of the ball).
360TT safety alert
The recommended limit is no more than 20 sprays per coat and no more than 5 coats. That said: only a madman, or someone who truly isn’t afraid of waking up with an impossible-to-control catapult racket, would get to 5 coats. Consider yourself warned. 😄
Bubbles and lifting
Each coat makes the sponge stretch more and more. The problem is that the top sheet does not keep up with this growth at the same speed, and this mismatch is what increases the tension on the glue line. As a result, the ever stronger impact of the ball when you hit a drive can favor the appearance of bubbles. That is why you should respect the recommended number of coats: the goal is extra elasticity, not a ruined rubber.
Material sensitivity
Note that rubbers react in different ways:
- Sensitive rubbers (tensioned, porous European/Japanese): they already have a more pliable sponge, so the Pro’s effect tends to be faster and more intense. Use it in moderation so you don’t lose control.
- Dense rubbers (Chinese/hard sponge): they are the Pro’s ideal target audience, since it penetrates deeply to soften stiffer structures. They may benefit from more coats to reach the ideal elastic effect.
Phase 3: professional assembly
Once the treatment is done, you will notice the rubber has become visibly softer and more pliable to the touch, the sign that the elasticity has been released in the sponge structure.
When the sponge is dry to the touch (remember: to the touch, not to the eye) and shows no traces of oil, it is ready to be glued.
The official recommendation
After releasing so much elasticity in the sponge, the choice of glue is what will define the final character of your setup. We have two recommendations, depending on your style:
- EasyGlue Carbon: for those who want to balance the Pro’s extra softness with firmness and precision. The glue creates a more direct connection, holding back a little of the released elasticity and giving back that precise, crisp feel on fast balls.
- EasyGlue Green+ (2026 release): for those who want to go the opposite way and extract the absolute maximum catapult effect and dwell time, adding the glue’s elasticity to the elasticity already released by the booster. This is the pair for those who think only about topspin with a deep arc.
If the rubber is very pliable and you have trouble gluing it, contact our team. We are here to help.
Now it’s your turn. Assemble your racket, go to the table and feel the wonderful sound and deep arc on your very first topspin. Enjoy your training!
At 360TT, it’s quality by players, for players.
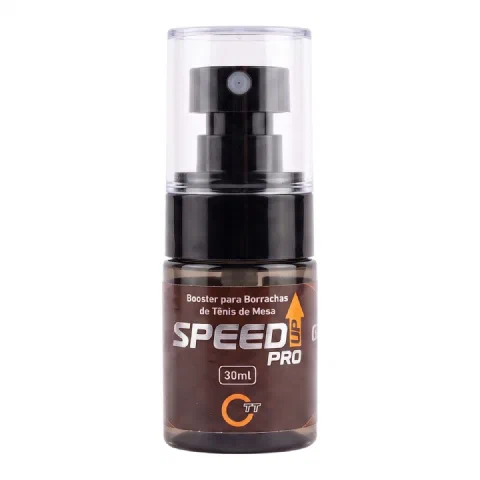 SpeedUp Pro booster360TT ultra-thin spray booster: maximum elasticity and catapult effect, with a working time of 2h to 4h per coat. 30ml bottle.
Buy in the store →
speed up pro · speedup pro · boster · buster · tuning oil · rubber tuner · instructions
Comments
Comment with your account (email or Google). Every comment is reviewed before it appears.